netZener.net
-
Home

- Projects
Portable Variable Power Supply
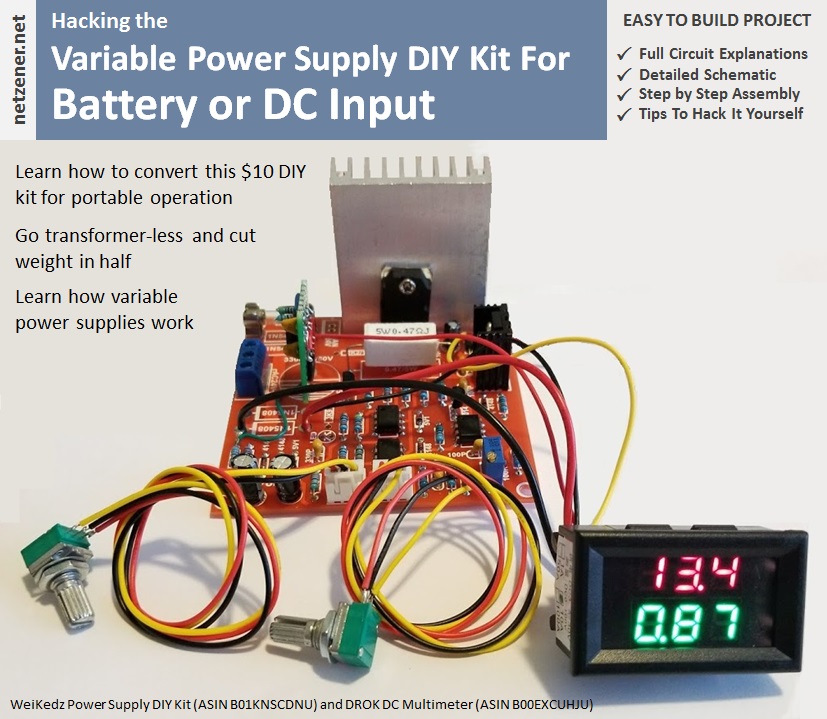
A two-part article that first presents detailed technical analysis of an off-the-shelf variable power supply kit manufactured by Weikedz (Part 1), and then describes how to modify the kit for battery operation in portable applications (Part 2). This is probably the most technically rigorous article on netzener.net to date but also one of the most rewarding for those who really want to understand how power supplies work, and how to design your own.
Click >>> HERE <<< for Part 1.
Click >>> HERE <<< for Part 2.
Switched Mode Dual Variable Power Supply
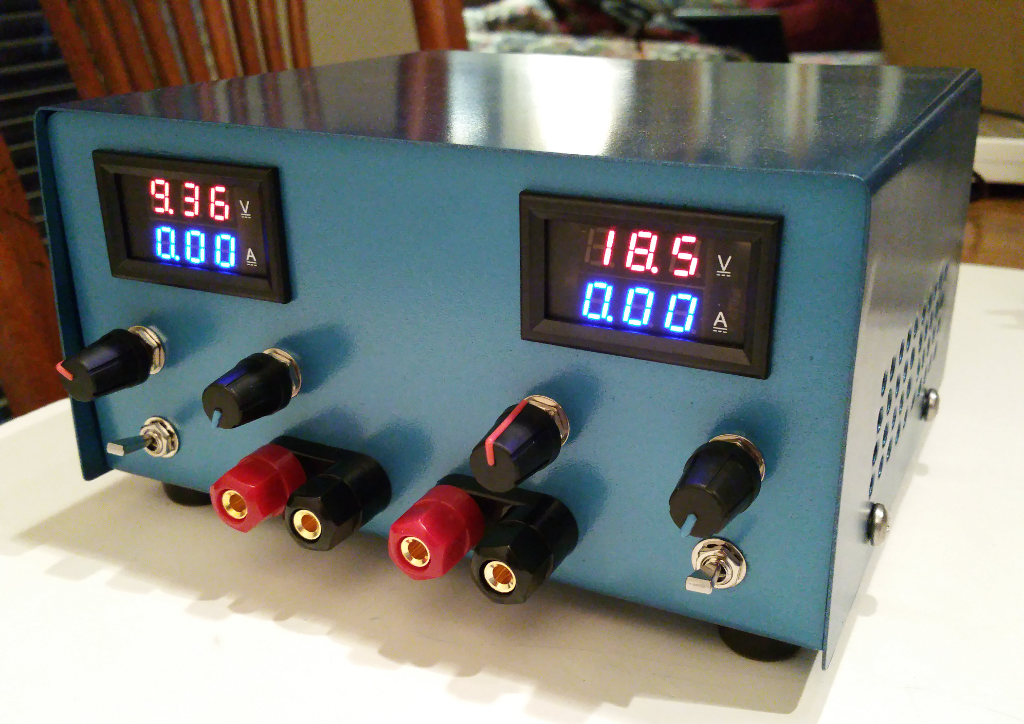
A variable power supply is one of the most important pieces of equipment to have on the electronics workbench. Inexpensive Bench-top variable power supplies available today are typically transformer-fed linear voltage regulators which are both simple and inexpensive to manufacture. They are also large, heavy, and inefficient for most of their output voltage range. Most cannot operate anywhere near their rated output current when large Vo-Vi is required, but for low power applications they provide stable and noise free output.
The Switched-mode power supply covered in this project is more than 90% efficient through almost the entire output voltage and current range, requires much less space for heat sinks and transformer cores (90% less in medium to high current designs), and is as much as 5 times lighter than an equivalent linear power supply. The output ripple of this switch-mode supply is slightly higher than a linear supply, but is still low enough to power the vast majority of analog and digital projects without a hitch.
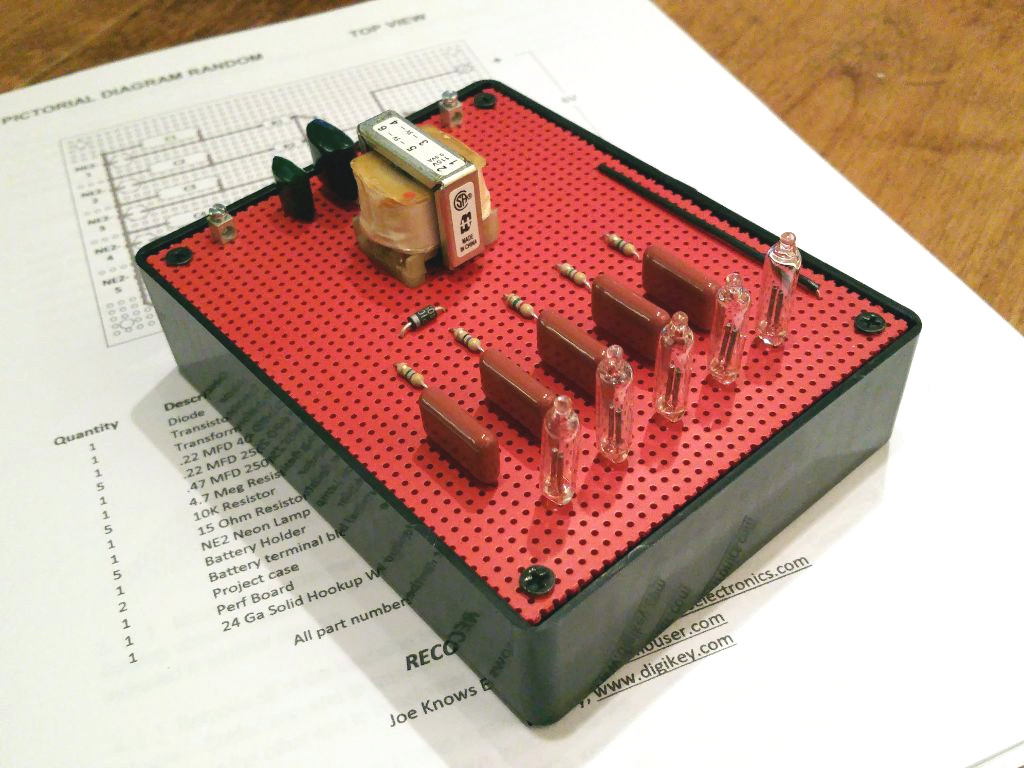
One Tube AM Radio
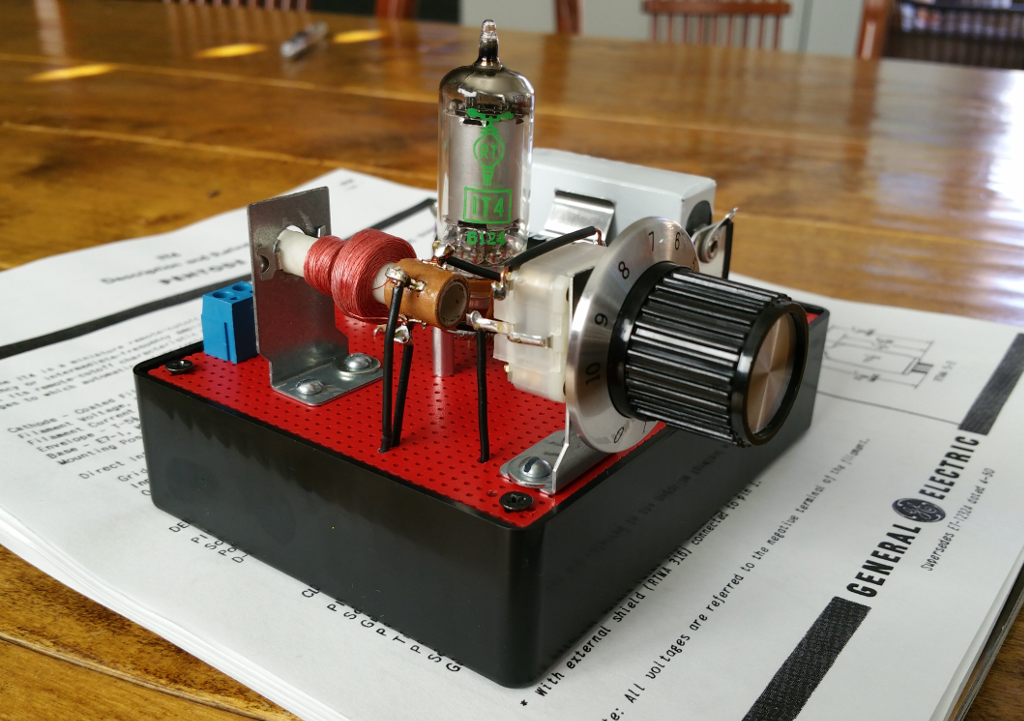
For the electronics enthusiast who would like to build an updated version of a classic Radio Shack P-box kit, I've included schematics, parts information, assembly documentation, and pictures of a completed and tested One Tube AM Radio based on the original from 1968. If, like me, you enjoy walking in the footsteps of the great inventors of the 20th century, you'll love this project.
Ultrasonic Range Finder

This project is a fun exercise in simple analog design with digital interfacing and software programming. It can be assembled on a PCB using the included templates or hand-wired on a breadboard. I've included a very detailed assembly manual, lots of pictures, theory of operation, parts list, software, and complete schematics. The physical principles of an ultrasound range finder seem intuitive, but in reality a lot of unexpected things happen when using air to propagate a signal. There were a number of ultrasound sensors available commercially that are smaller and less expensive than this project. But all of these are highly integrated "black-box" devices that provide almost no explanation on how they work. To gain a detailed understanding of ultrasonic transmitters and receivers, I decided to design my own and experiment with ultrasonic wave propagation, reflection, and interference. The Ultrasonic Range Finder can reliably detect an object 1 to 10 feet away and accurately measure the distance from the sensor using digital control signals from a small computer like a Raspberry Pi or Arduino.
3 Transistor Short Wave Radio
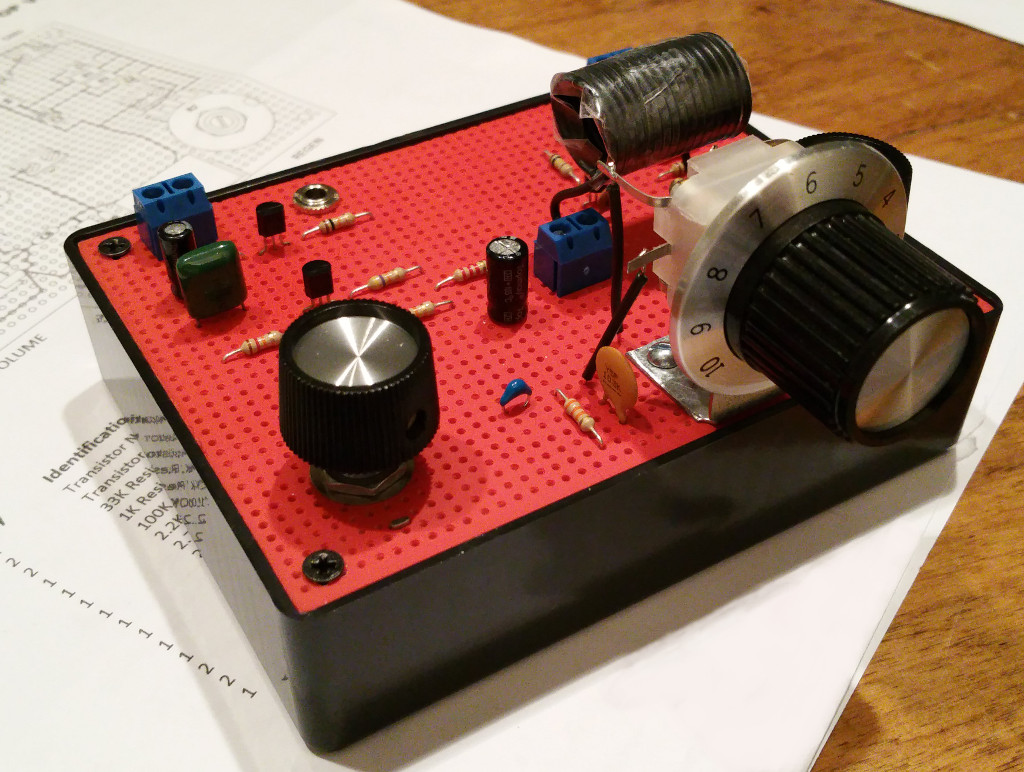
The 60's and 70's were the golden age of electronic kit building. The novice had a great many educational kits to choose from that taught basic skills and electronics theory while assembling a device that could do something useful or entertaining. An advanced builder could use "sweat equity" to inexpensively obtain popular electronic products like HiFi stereo systems, color televisions, CB radios, and automotive test equipment. Today there are still quite a few electronics kits available for education purposes, but rapidly evolving features and shrinking components ended the consumer electronics kit business. I would have loved to have assembled some of the products that were popular in the 70's, but unfortunately most of the companies that made all those wonderful kits were gone when I began my career. In honor of a great set of educational Radio Shack electronics project kits available during the 60's and 70's, I've redesigned the original Science Fair brand 3 Transistor Shortwave Radio (Catalog #28-110) using modern components still available from electronics component re-sellers in the US. All of the components in the updated kit can be found on Amazon. There were many things Radio Shack did extremely well during its prime. For the nostalgic or the enthusiast who would like to build an updated version of this classic radio I've included schematics, assembly documentation, and pictures of a completed and tested 3 transistor short wave radio based on the original from 1968.
Neon "Goofy-Lite"
Occasionally I encounter a circuit that is schematically simple but challenging in theory, yet has no practical purpose other than to look cool. Every electronics lab needs a black box with blinking lights hanging around in a corner somewhere. Just about every science fiction movie or television show ever made has blinking lights of one type or another. The Neon Goofy Lite project described in this article is easy to build but contains enough interesting parts, theory, and history to start conversations and invite questions from expert and novice alike. The version covered here has been running non-stop making that vintage orange neon glow for over two weeks on four AA batteries.
8 Transistor Stereo Amplifier
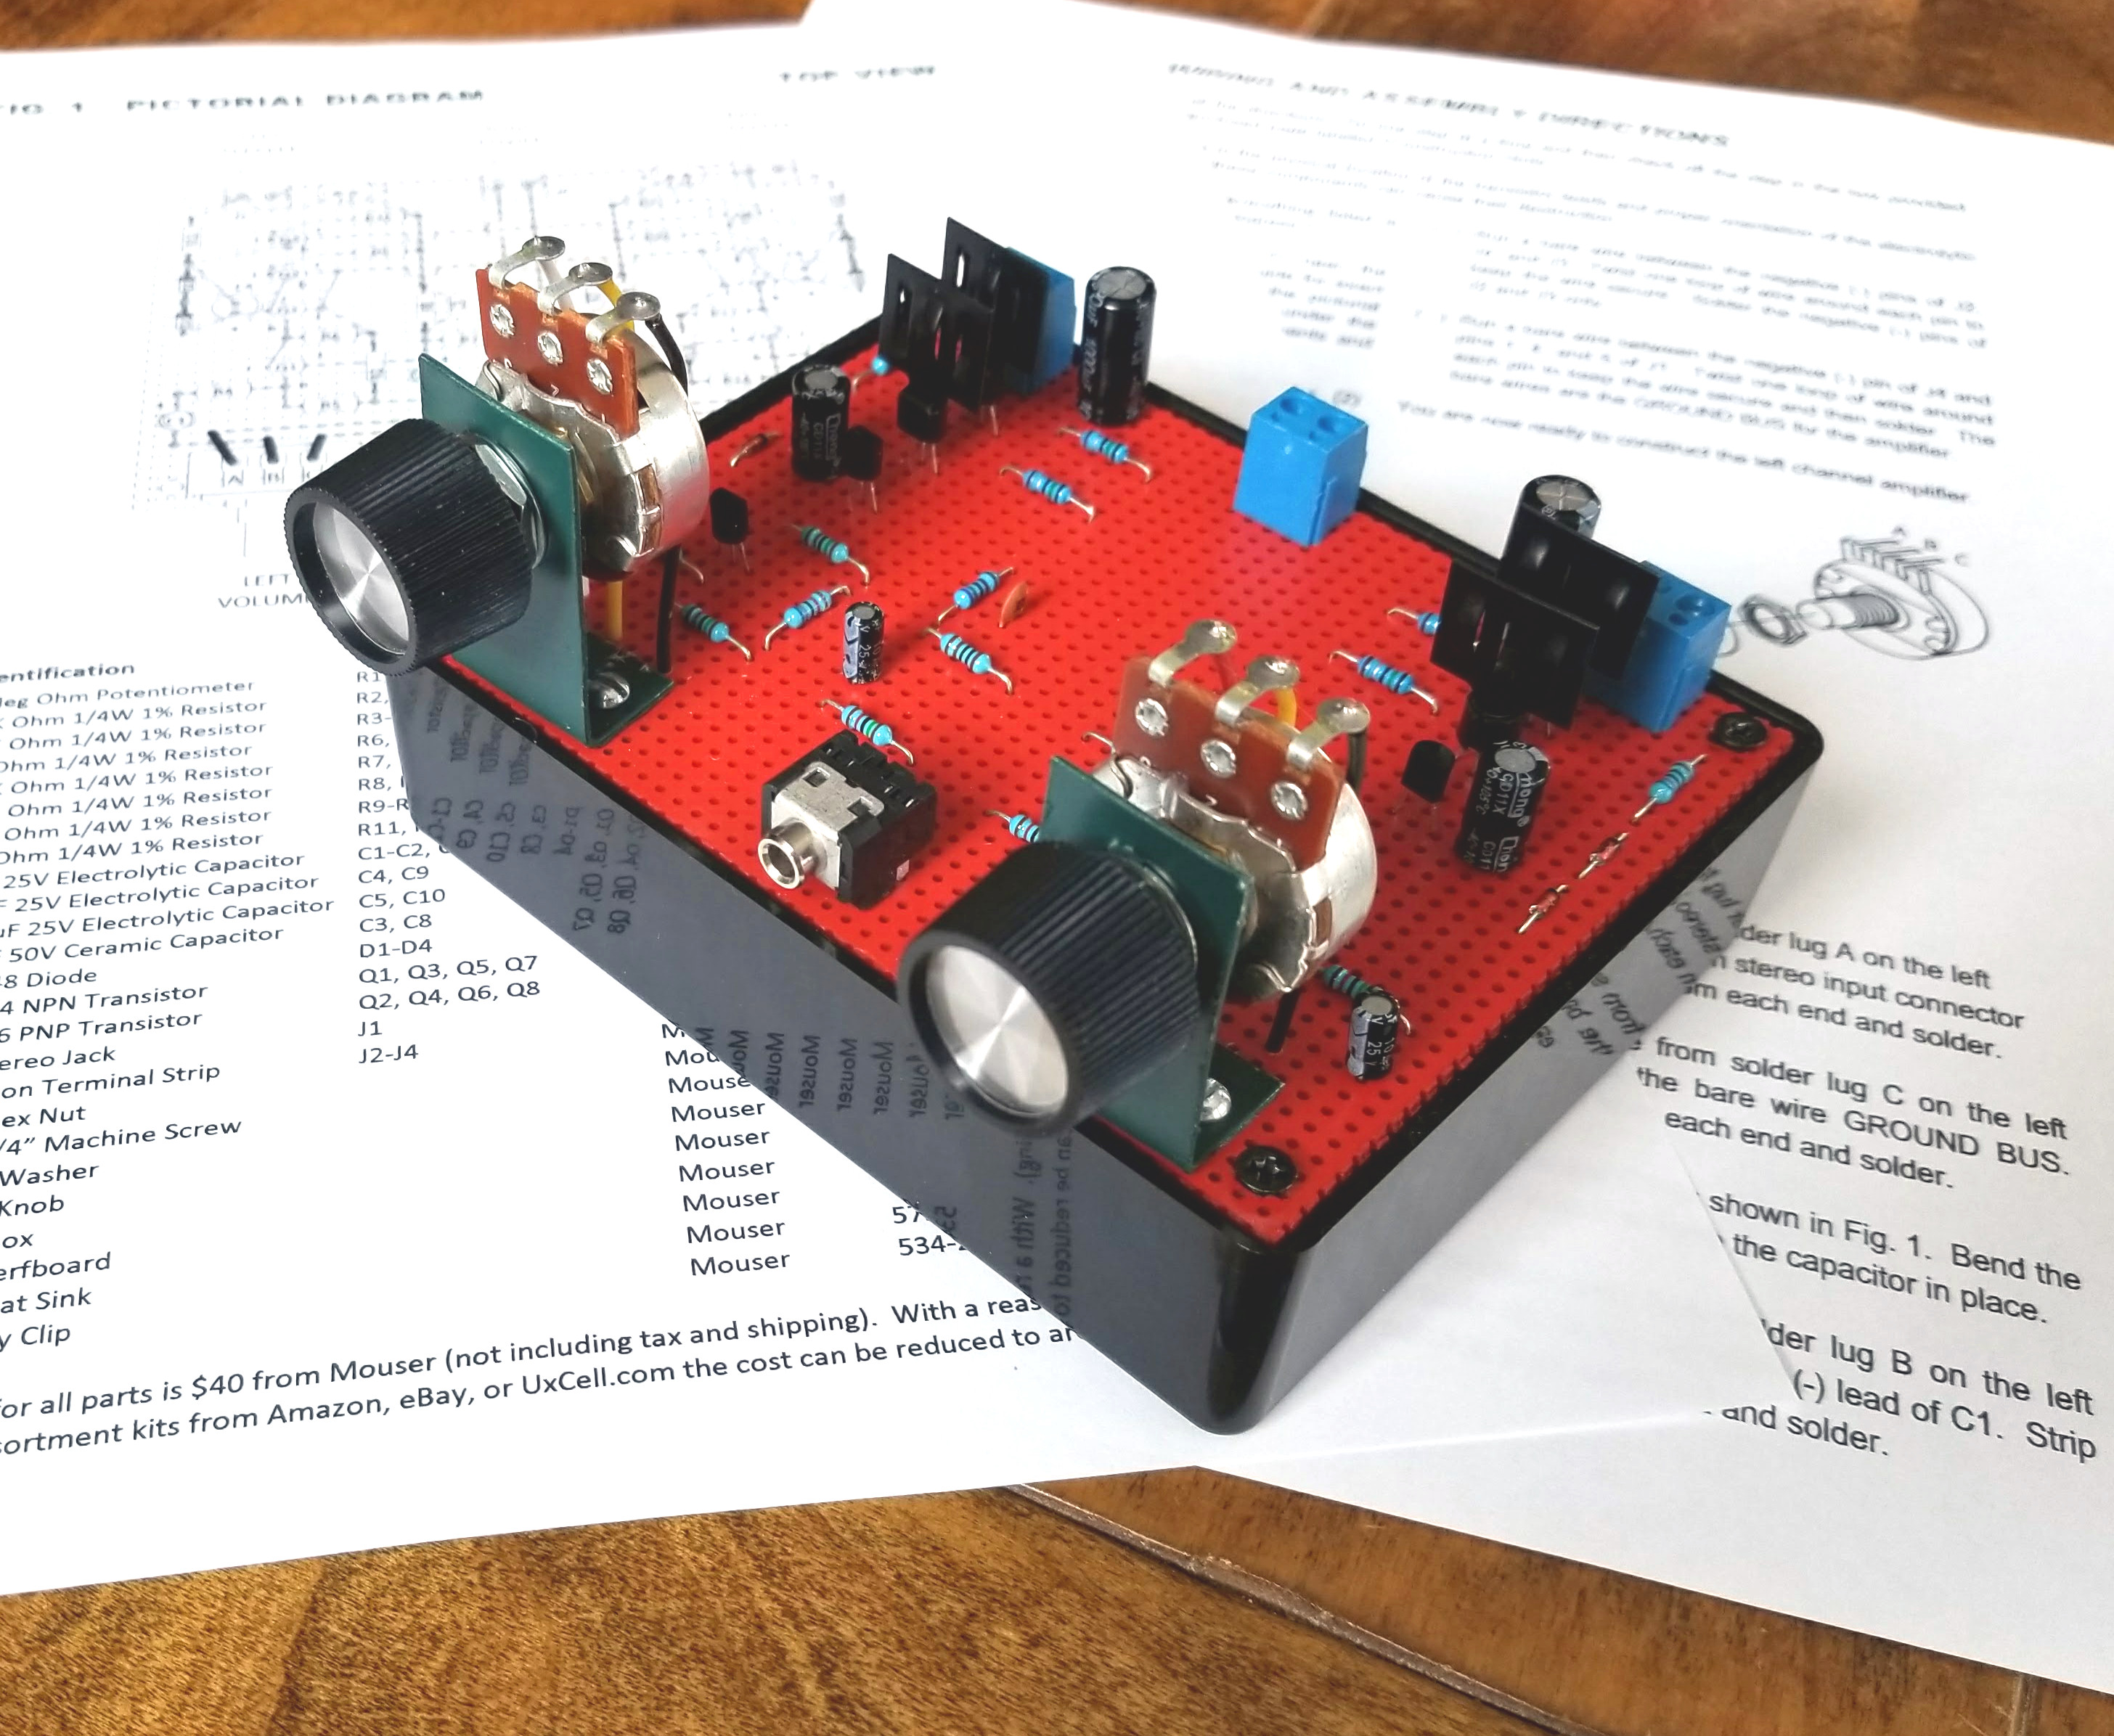
The home entertainment industry seems convinced that it takes 1000W at .00000001% THD to fill a room with sound. But that's not exactly true and is really only half the story. An efficient speaker system coupled with a small amplifier can take a signal from a media device and make it bigger than your neighbors will let you get away with.
If you are interested in analog electronics and would like to experiment with an audio amplifier you build yourself with discrete components in an evening or two instead of with an IC in 5 minutes, then this is a really fun project. And it just looks way cooler than an LM386 soldered to a 1" piece of perfboard. I've included schematics, detailed step-by-step assembly documentation, a complete parts list, some hacks to get you thinking about how to improve the amplifier, and a thorough description on how it all works.